

Unlocking The Magic Of The Everything Shower
There are showers, and then there is the everything shower. If you have spent any time in wellness or beauty communities, you already know that this term carries genuine weight. People talk about their everything shower the way they talk about a long weekend retreat or a proper spa afternoon. The anticipation builds before it even begins, the process itself feels indulgent and grounding at the same time, and the results when you step out are impossible to ignore.
The everything shower is not about getting clean in the basic sense of the word. It is a full, deliberate personal care ritual that addresses your hair, scalp, skin, and body in one dedicated, unhurried session. It is the intentional opposite of the rushed two-minute rinse most people manage on a busy weekday morning. It does not require an expensive spa appointment, a complicated product cabinet, or any special equipment. It requires your time, your full attention, and the decision to treat your body as something genuinely worthy of care.
This article walks you through exactly how to perform a complete everything shower using nine clearly defined steps, from the hair mask you apply before the water even runs to the serum and moisturizer you press into your skin as the final act. Follow these steps in order and you will understand immediately why people consider this ritual one of the most rewarding forms of self-care available to anyone, at any budget.

Step 1: Apply Your Hair Mask Before You Enter Everything shower
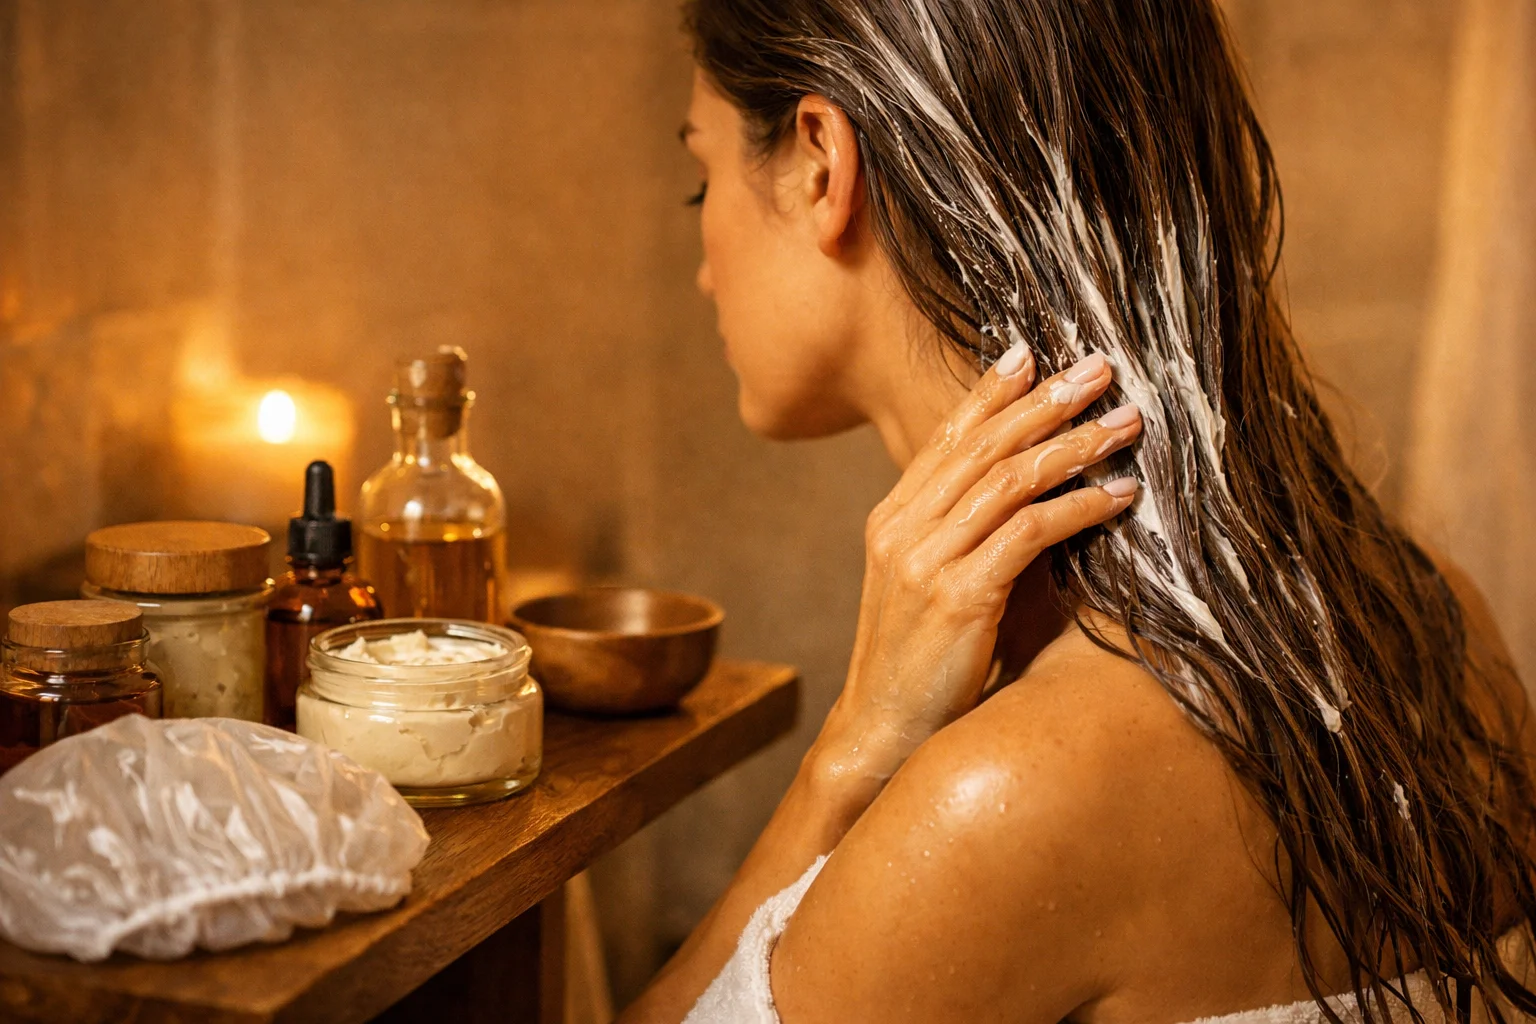
The everything shower begins before you ever turn on the water. Applying a deep conditioning hair mask or nourishing hair oil to your dry hair before entering the shower is one of the most effective moves in this entire routine, and it is also one of the most commonly skipped.
Dry hair absorbs treatment products far more readily than wet hair. When you apply a mask or oil to dry strands, the product has unobstructed access to the hair shaft and can begin working immediately. Oils such as coconut, argan, castor, or jojoba are excellent choices for this pre-shower application. For a store-bought hair mask, simply apply it as you would normally and allow it extra processing time before rinsing.
Work the product from mid-length to ends, focusing on the areas that feel most dry, damaged, or prone to breakage. Pile your hair on top of your head, secure it loosely, and cover with a shower cap. The body heat trapped beneath the cap will help open the hair cuticle and allow the treatment to penetrate more deeply. Let it sit for at least ten to fifteen minutes while you move through the steps ahead.
Step 2: Dry Brush Your Body for Smooth, Glowing Skin
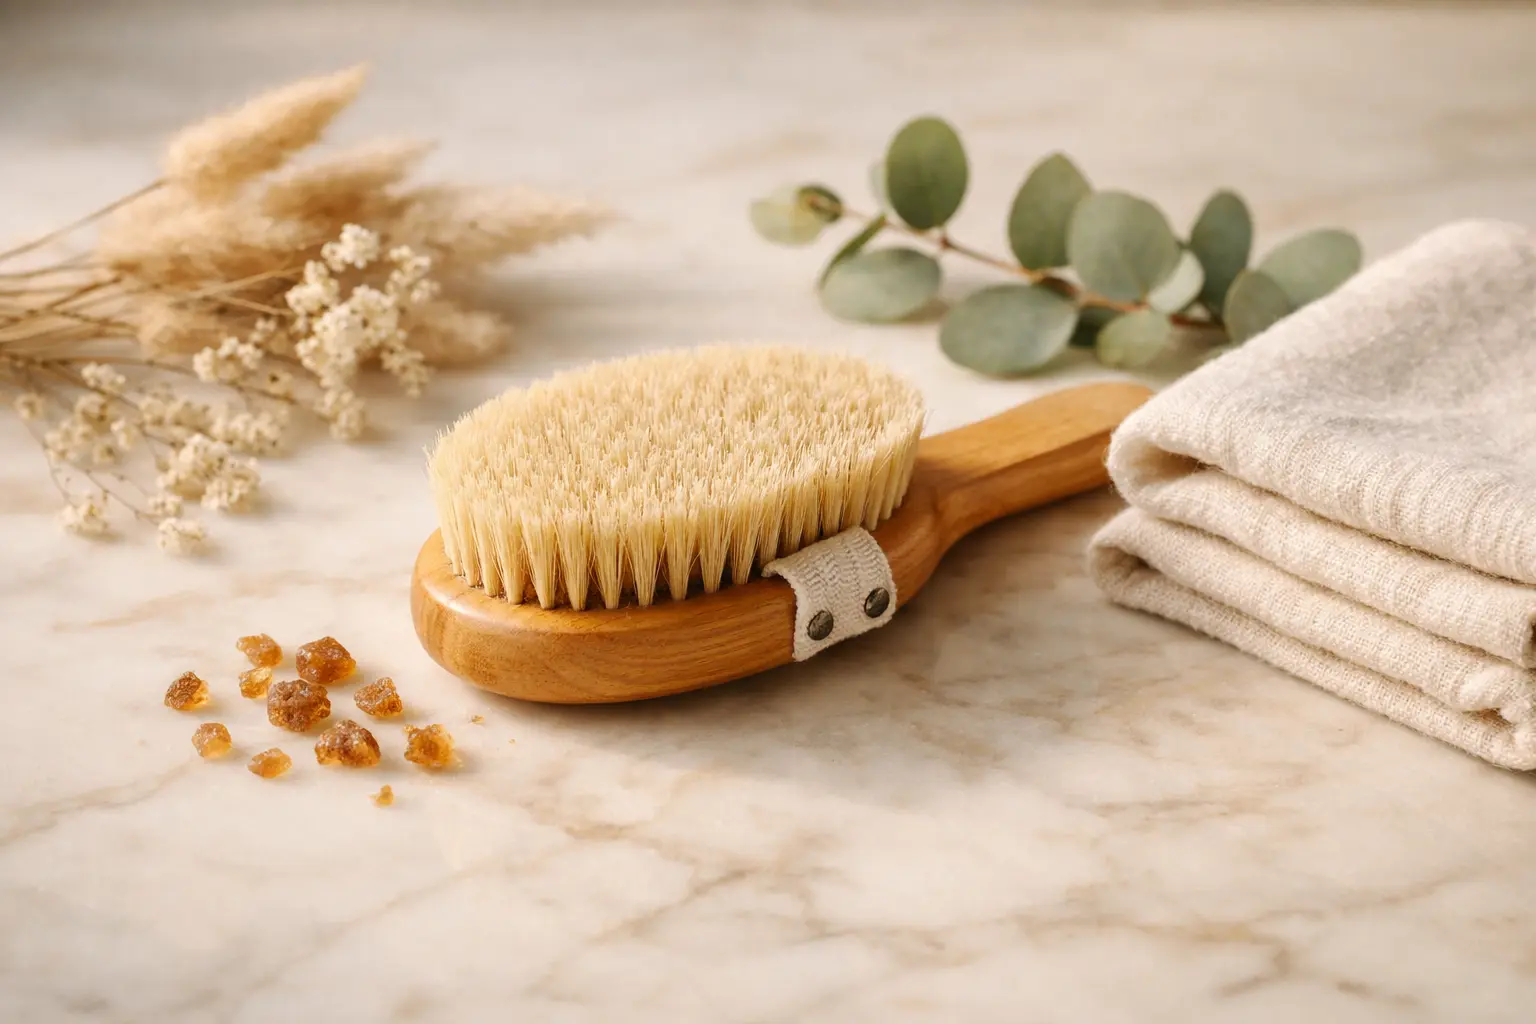
While your hair mask processes, pick up your dry brush. Dry brushing is the practice of using a firm, natural-bristle brush on completely dry skin before any water touches it. The technique involves long upward sweeping strokes that always move in the direction of the heart. Begin at the soles of your feet and work upward through the calves, thighs, hips, stomach, and arms.
This step delivers a combination of benefits that make it worth including in every everything shower session. It physically removes the layer of dead skin cells sitting on the surface of the body, which would otherwise dull the results of your body wash and block your moisturizer from absorbing properly. It stimulates the lymphatic system, which plays a key role in the body’s natural detoxification process. It also improves the appearance of skin texture almost immediately, leaving the surface visibly smoother and more even before you even step under the water.
Spend two to three minutes on this step, use consistent pressure without pressing too hard, and avoid dry brushing over any areas of broken, irritated, or particularly sensitive skin.
Step 3: Clarifying Shampoo to Reset Your Scalp
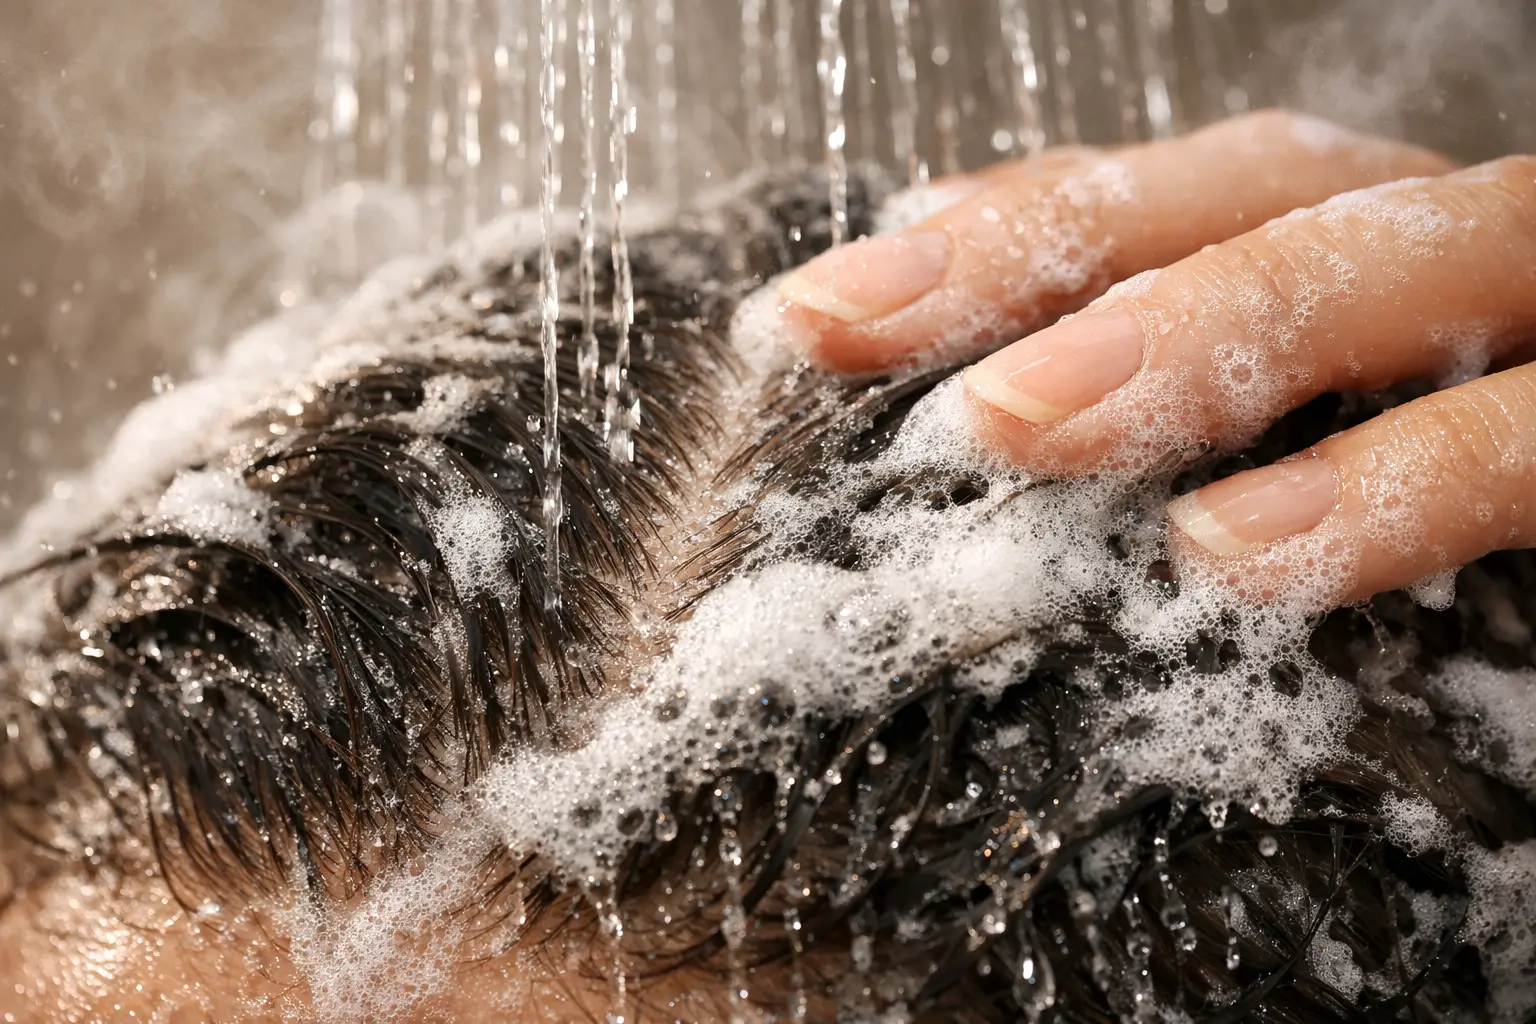
Now step into the shower and let the water run warm. This is the first hair washing step, and it is intentionally a clarifying shampoo rather than a regular one. A clarifying shampoo is formulated to remove buildup at a deeper level than standard shampoo. It strips away accumulated residue from styling products, dry shampoo, hard water minerals, excess sebum, and environmental pollutants that a regular shampoo simply cannot fully address.
Apply the clarifying shampoo directly to the scalp and use the pads of your fingertips to massage it in with small circular motions across the entire scalp for two to three full minutes. Do not rush this step. A thorough scalp massage stimulates blood flow to the hair follicles, loosens stubborn buildup, and creates the completely clean foundation that the moisturizing shampoo in the next step needs in order to work effectively.
Clarifying shampoo is not meant for daily use. Using it as part of your everything shower, which you are likely doing once a week or once every two weeks, is the ideal frequency. Rinse thoroughly and completely before moving on.
Step 4: Moisturizing Shampoo to Restore and Nourish
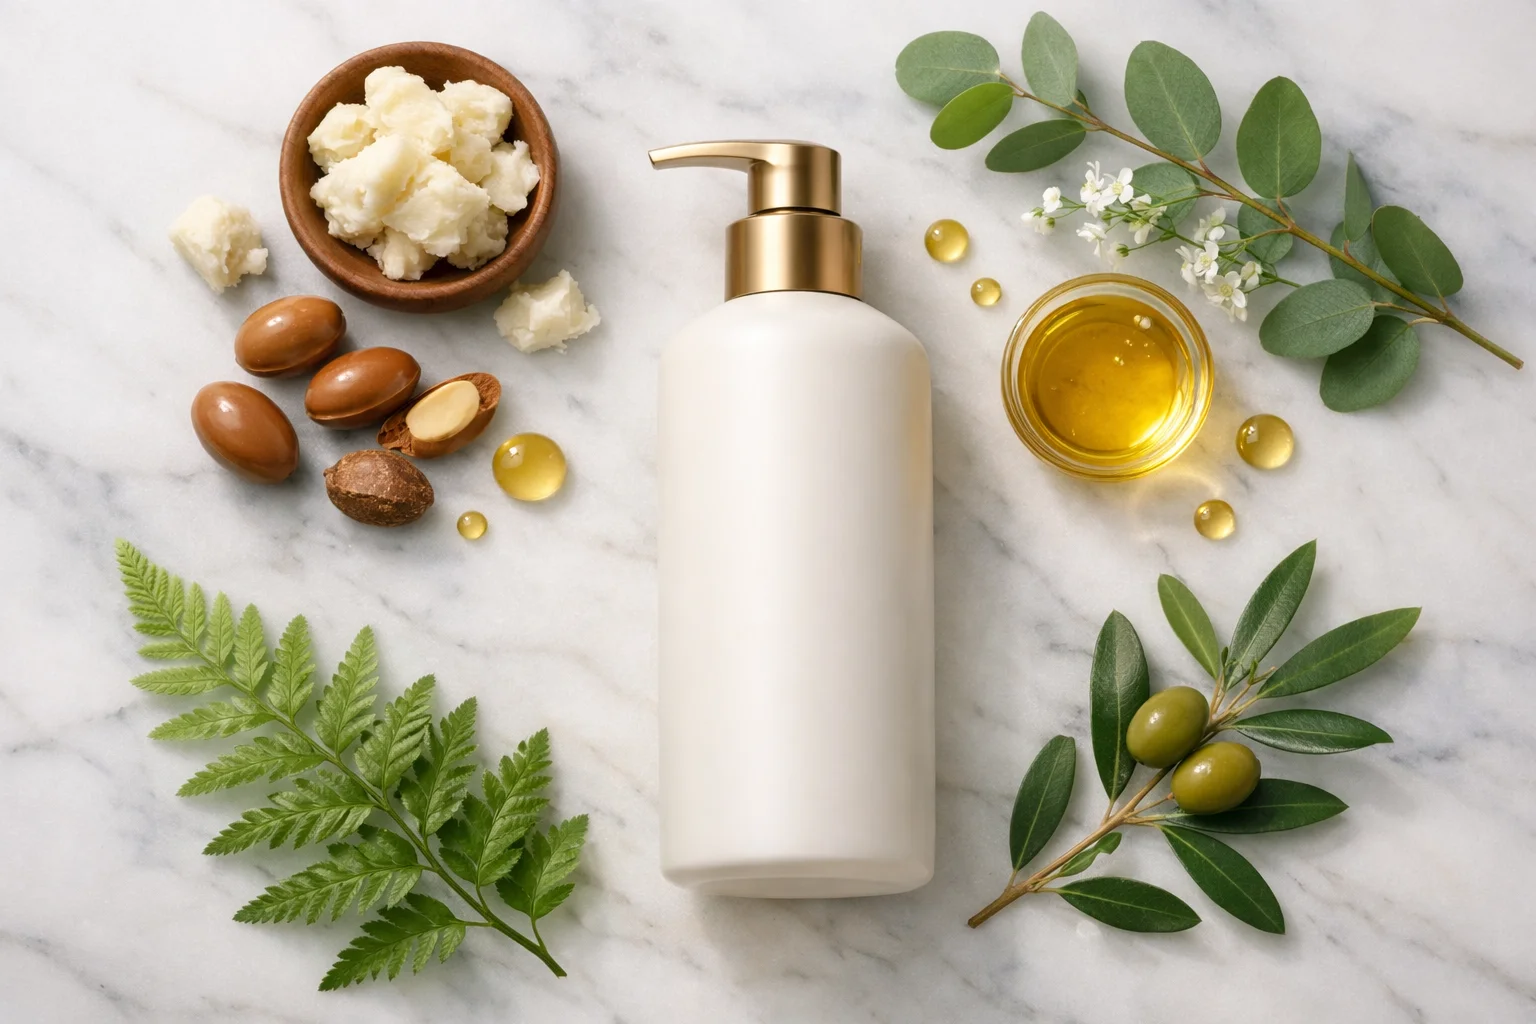
Immediately after clarifying, apply a moisturizing shampoo as your second wash. This two-shampoo method is one of the most impactful upgrades you can make to any wash day routine. The clarifying shampoo in Step 3 removed all the buildup and excess from the scalp and hair. The moisturizing shampoo in this step now has a perfectly clean surface to work on, which means its hydrating and nourishing ingredients can actually reach the hair shaft rather than sitting on top of residue.
A moisturizing shampoo is typically richer in texture and formulated with ingredients such as shea butter, panthenol, glycerin, or natural oils that replenish the moisture lost during clarifying. Apply it to both the scalp and the lengths of your hair, work it through gently, and allow it to sit for one to two minutes before rinsing. You will notice a significant difference in how your hair feels even at this stage compared to a single-shampoo wash. The hair will feel softer, more manageable, and noticeably more hydrated before you have even conditioned.
Step 5: Conditioner for Deep Hydration and Detangling
After rinsing out your moisturizing shampoo, apply your conditioner generously to the lengths and ends of your hair, avoiding the scalp entirely. The scalp produces its own natural oils and applying conditioner to the roots can weigh hair down, cause buildup, and lead to a greasy appearance faster than usual.
Use a wide-tooth comb to work the conditioner through your hair from ends to roots in gentle, patient strokes. This detangles the hair while it is protected by the slippery texture of the conditioner, which significantly reduces breakage compared to detangling dry or unprotected hair. Once fully distributed, clip your hair up and leave the conditioner in while you attend to your skin through the next several steps.
Allowing your conditioner to sit for five to ten minutes rather than rinsing it out immediately is a simple habit that dramatically improves its results. The extra contact time allows the moisturizing ingredients to penetrate the hair shaft more thoroughly, leaving your hair softer, shinier, and more manageable once you rinse and dry.
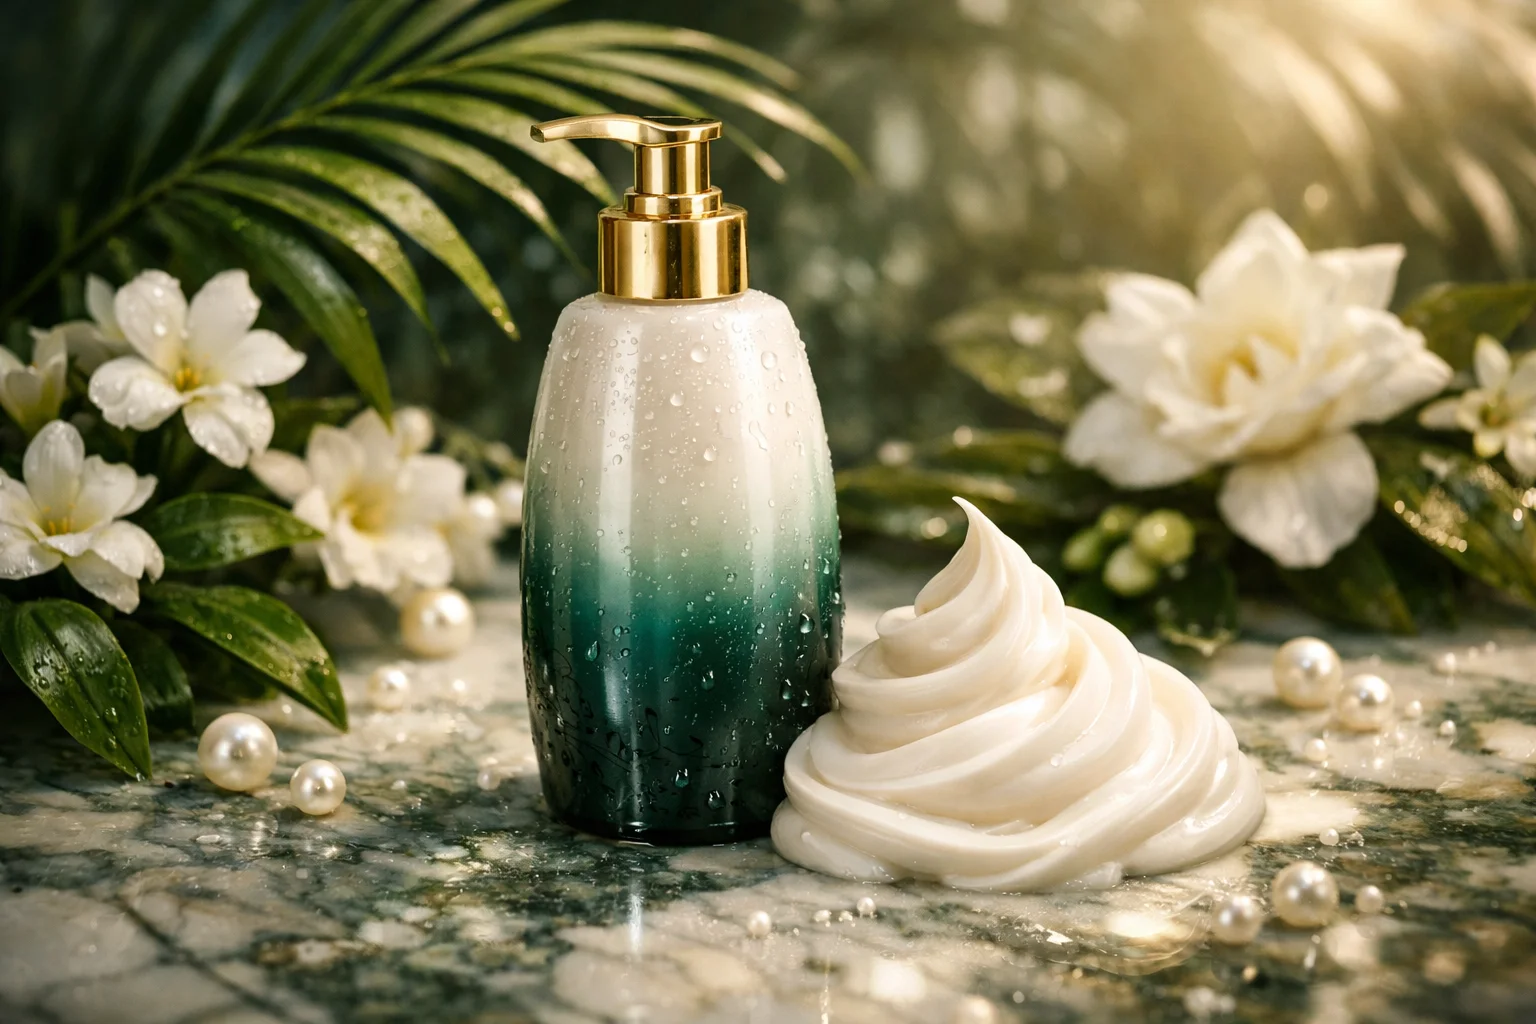
Step 6: Exfoliate With a Body Scrub From Head to Toe

With your conditioner processing in your hair, shift your full attention to your skin. Body exfoliation is one of the steps that most clearly separates an everything shower from a regular wash, and it is one of the steps that delivers some of the most visible results.
Using a body scrub, exfoliating mitt, or sugar or salt-based physical exfoliant, work across the entire surface of your body in small circular motions. Apply moderate, consistent pressure and pay particular attention to the areas where dead skin accumulates most visibly and most stubbornly. The elbows, knees, upper arms, inner thighs, heels, and the back of the ankles are all zones that deserve extra time and attention during this step.
Exfoliation removes the dull, rough outer layer of dead skin cells and reveals the brighter, softer skin that sits beneath it. This step also dramatically improves the effectiveness of every product you apply to your skin afterward. A body oil or moisturizer applied to freshly exfoliated skin absorbs at a different level entirely compared to one applied on top of accumulated dead cells. The difference in results is noticeable from the very first everything shower you complete.
Step 7: Body Wash for a Clean, Fresh Foundation
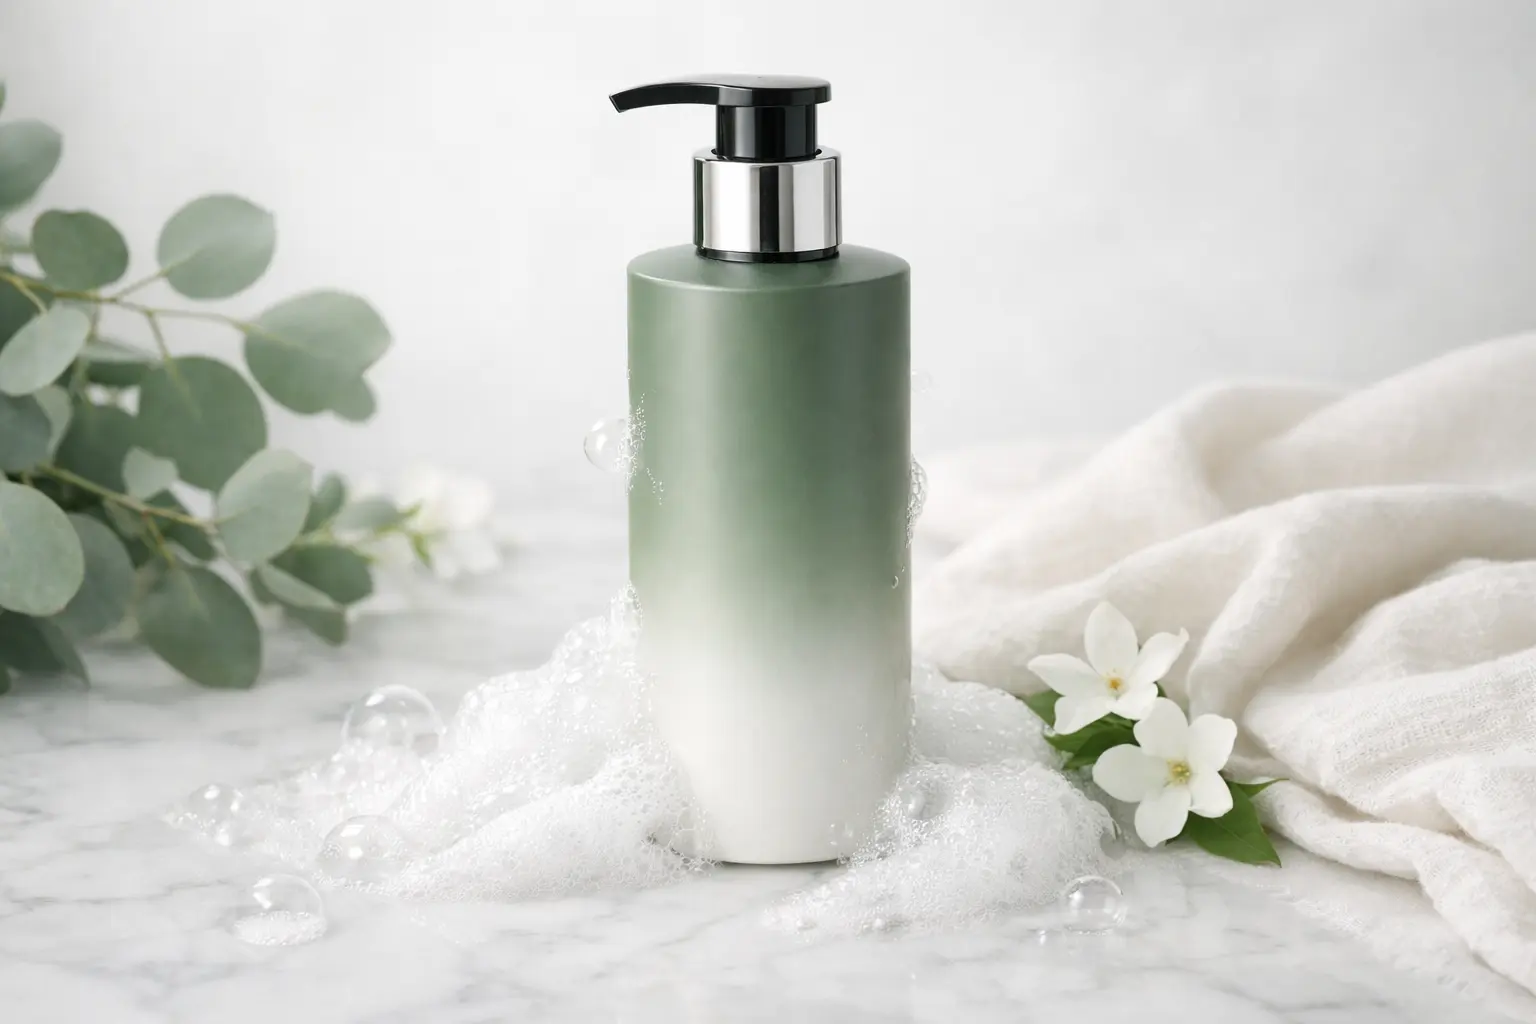
After exfoliating, perform a full body wash using your preferred cleanser. This step follows exfoliation deliberately. Washing after scrubbing removes any remaining exfoliant particles, clears away the dead skin cells that were loosened during exfoliation, and leaves the skin surface truly clean rather than just buffed.
Apply your body wash using a soft washcloth, silicone cleansing pad, or your hands, and work in long, unhurried strokes across the entire body. Choose a body wash that complements the work already done during exfoliation, ideally one that is hydrating rather than stripping, as the skin is particularly receptive to moisture at this stage.
This is also a moment in the routine to simply be present. The everything shower is as much about mental restoration as physical care. Breathe in the scent of your products, feel the warmth of the water on your skin, and allow your nervous system to settle into a state of genuine rest. You have no other place to be right now. Rinse completely, then take this opportunity to also rinse out the conditioner you applied to your hair in Step 5 before moving forward.
Step 8: Body Oil Applied While Your Skin Is Still Wet
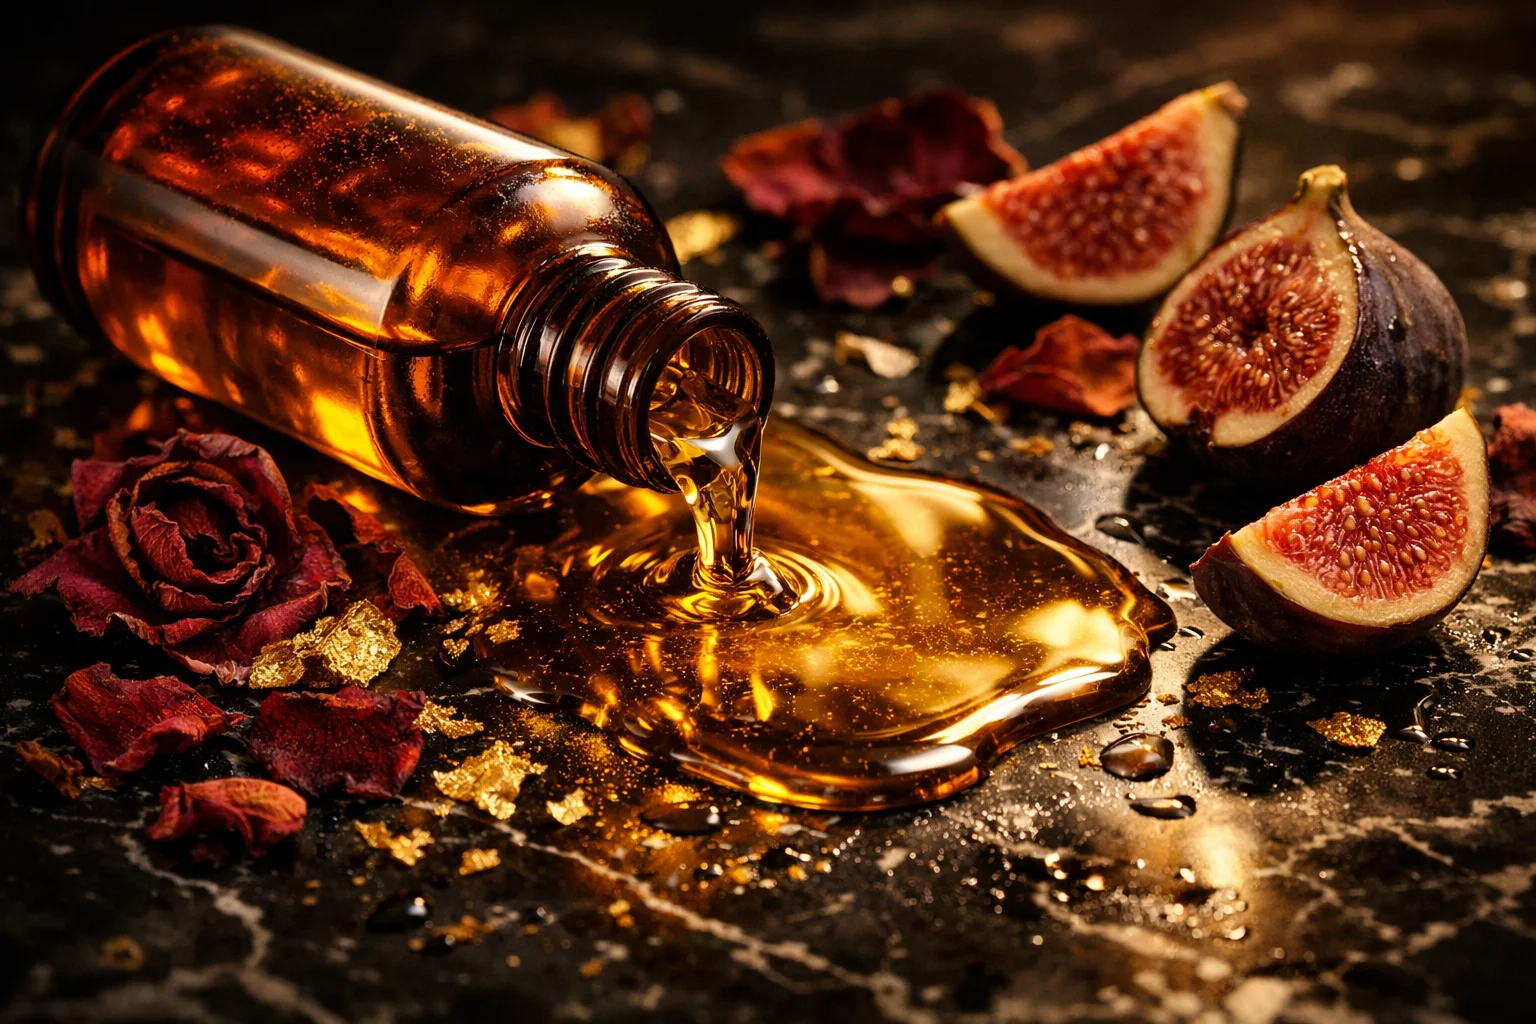
Step out of the shower but do not reach for your towel yet. This is where body oil enters the routine, and the timing is everything. Applying body oil to skin that is still wet, before you have dried off, is one of the most effective moisturizing techniques in any body care routine and one of the defining habits of people who consistently have soft, glowing skin.
When you apply oil to damp skin, it works as a sealant, locking in the water that is still sitting on the surface of your body. The oil itself does not provide water content to the skin, but it creates a barrier that prevents the moisture from evaporating as your skin dries. The result is hydration that lasts significantly longer than what you would achieve by applying lotion to already dry skin.
Use a few drops to a generous pump of your chosen body oil and press it into the skin using your palms rather than rubbing it in aggressively. Cover the full body, working from the feet upward, and pay extra attention to the areas that tend toward dryness. Pat yourself dry gently with a towel afterward rather than rubbing, to preserve the oil layer and avoid stripping the moisture you have just sealed in.
Step 9: Serum and Moisturizer as Your Final Step
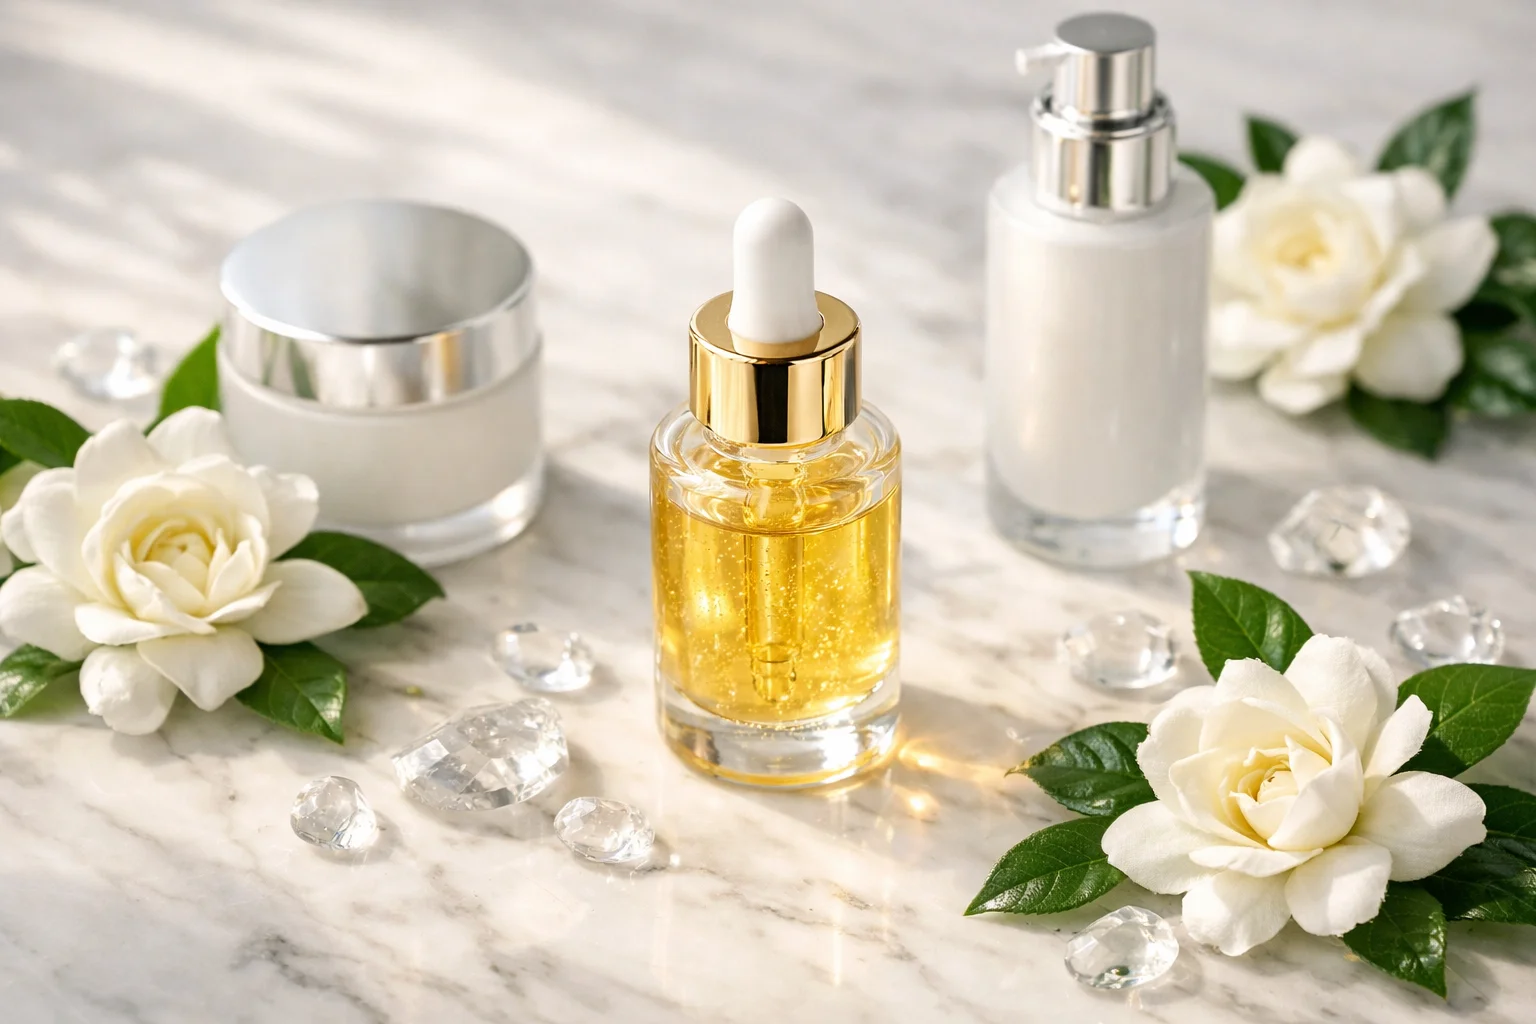
The last step of the everything shower is what ties the entire ritual together and ensures your skin holds on to everything you have given it throughout the session. Apply your facial serum first, pressing it gently into slightly damp skin using your fingertips. Serums are formulated with concentrated active ingredients that work most effectively when applied before heavier products, as they need direct access to the skin to penetrate properly.
Allow the serum thirty seconds to absorb before following with your facial moisturizer. Choose a moisturizer suited to your skin type and apply it in upward, outward strokes across the face and neck. If you are completing your everything shower during the day, finish with an SPF. If it is an evening session, this is the ideal time to incorporate any targeted treatments such as retinol, peptide creams, or overnight masks.
For the body, if your skin still feels like it needs more support after the body oil, layer a body butter or rich lotion on top, focusing on the driest areas. Finish by applying a leave-in conditioner or hair oil to the ends of your damp hair to seal in moisture and reduce frizz as it dries. Then take a moment before getting dressed to simply acknowledge what you have just completed. You have given your body genuine, thorough, thoughtful care from your scalp to the soles of your feet.
Conclusion
The everything shower is not a luxury reserved for people with unlimited time or an extravagant product collection. It is a structured, accessible ritual that anyone can build into their weekly or biweekly routine with a little planning and the right sequence of steps. When you follow all nine steps in order, from the hair mask applied before you enter to the serum and moisturizer you press in as the final act, the results are consistent, cumulative, and deeply satisfying.
What makes the everything shower so powerful is not any single step within it. It is the combination of all nine working together. Each step enhances the effectiveness of the one that follows it. Clarifying creates the foundation for moisturizing shampoo to work. Exfoliation makes body wash more effective. Wet skin application makes body oil absorb more deeply. Serum applied before moisturizer penetrates more completely. When the entire sequence is followed with intention and without rushing, you step out of the shower as a noticeably better version of the person who stepped in.
Dedicate sixty to ninety minutes, prepare your products in advance, and protect that time as the ritual it is. Your skin, your hair, and your nervous system will thank you every single time.
you may also liked our post weekly-capsule-w…enefits-and-tips/
Frequently Asked Questions
1. How often should you do an everything shower?
Once a week or once every two weeks is the ideal frequency for most people. Steps like clarifying shampoo and body exfoliation can cause dryness or irritation if done too often, so spacing the full ritual out appropriately protects both your skin and hair health.
2. Can you use clarifying shampoo and moisturizing shampoo together every wash?
The double shampoo method using clarifying followed by moisturizing shampoo is specifically designed for deeper wash days rather than daily use. Clarifying shampoo is a reset tool, and using it too frequently can strip the hair of its natural oils and cause dryness over time.
3. Why should body oil be applied to wet skin instead of dry skin?
Applying body oil to wet skin allows it to function as a sealant that locks existing moisture into the skin rather than simply sitting on the surface. This technique produces longer-lasting hydration and noticeably softer results compared to applying oil or lotion after the skin has already dried.
4. What type of serum works best in a post-shower routine?
Hyaluronic acid serums are particularly effective in a post-shower routine because they attract and retain moisture from the environment and the damp skin beneath them. Vitamin C serums are also excellent for brightening and protection when used in a morning everything shower session.
5. Is dry brushing necessary or can it be skipped?
Dry brushing is not strictly necessary but it meaningfully improves the results of every step that follows it. By removing dead skin before you enter the shower, it allows your body wash, exfoliant, and moisturizer to work on fresher, more receptive skin. If you have sensitive skin, a gentler exfoliating option can be substituted.


3 Comments