
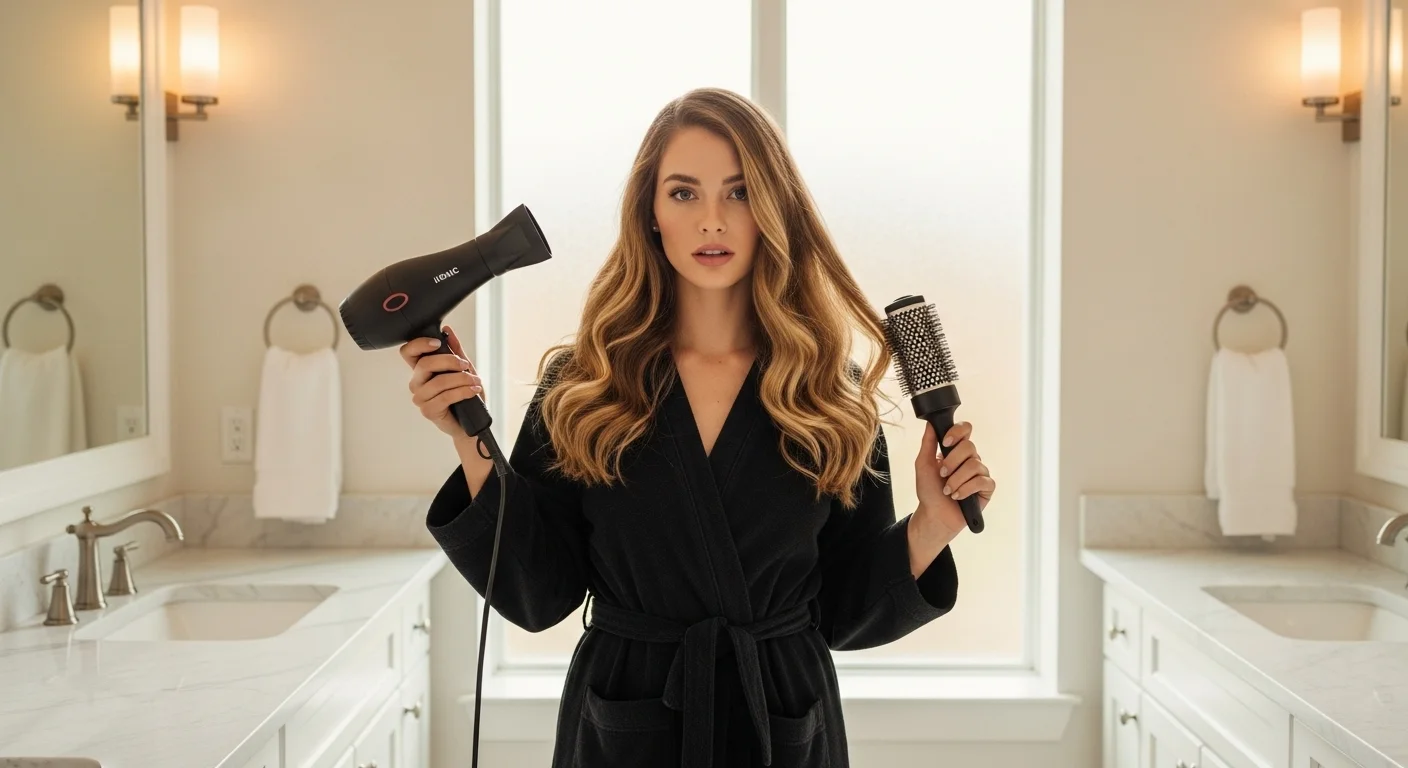
20 At-Home Blowout Guide for Salon Style Hair
There is something undeniably satisfying about walking out of a salon with your hair bouncing, shining, and sitting perfectly in place. The kind of blowout that makes you feel put together without even trying. But here is the honest truth that most people overlook: you do not need a salon to get that result. With the right knowledge, the right tools, and a well-practiced routine, an at-home blowout can rival anything a professional delivers, and it can last for days.
Whether you have fine, flat hair that refuses to hold volume or thick, coarse strands that dry unevenly, this guide was written for you. Below are 20 detailed, practical steps and tips to help you master the perfect at-home blowout and keep it looking salon-fresh all week long.
Why the At-Home Blowout Has Become a Must-Know Skill

Salon visits are expensive, time-consuming, and not always convenient. Learning to execute a flawless at-home blowout gives you creative control over your hair, saves you money in the long run, and allows you to style on your own schedule. More importantly, when done correctly, an at-home blowout protects your hair because you control the heat settings, the products you use, and how frequently you apply them.
What Exactly Is a Blowout
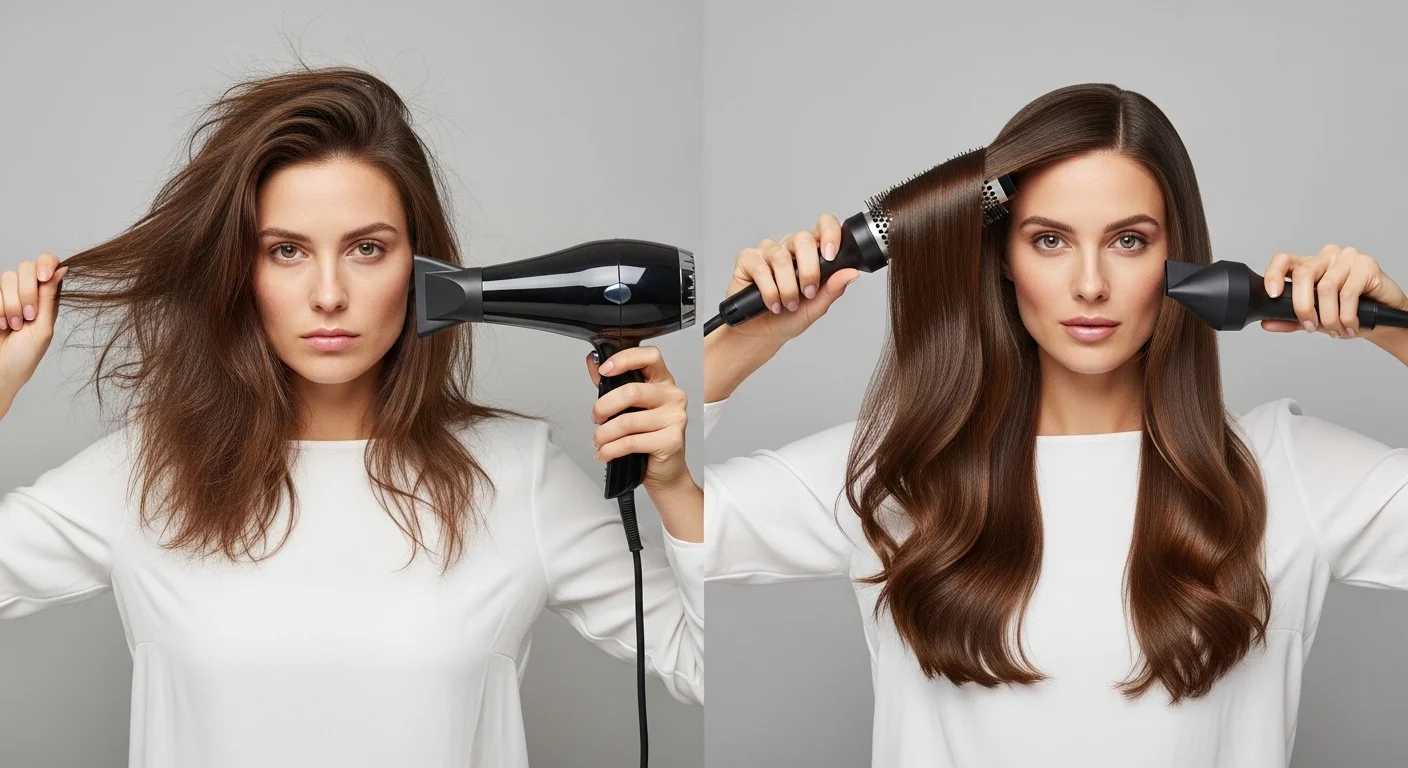
A blowout is a styling technique that uses a blow dryer and a brush to create a smooth, voluminous, and polished hairstyle. Unlike simply drying your hair, a blowout involves deliberate sectioning, directional airflow, and controlled tension to lift, smooth, and shape each strand. The result is glossy, bouncy, full hair that holds its structure for several days.
Everything You Need Before You Start
Getting the result right starts before you even pick up your blow dryer. Having the correct tools and products ready makes the difference between a blowout that lasts three days and one that falls flat by afternoon.
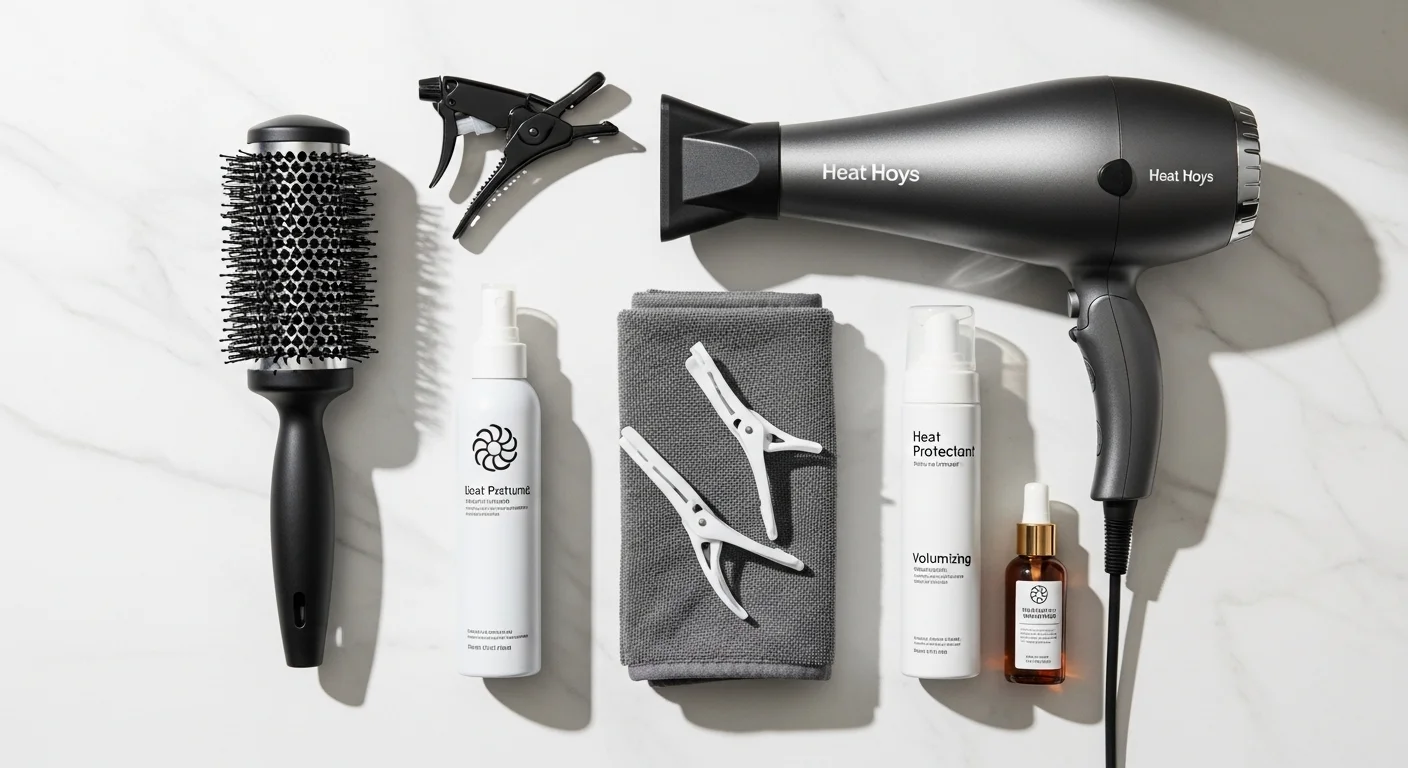
Essential Tools for a Perfect At-Home Blowout
The tools you invest in will directly affect your results. You need an ionic blow dryer with multiple heat settings and a concentrator nozzle, a round brush suited to your hair length and desired finish, sectioning clips that hold hair firmly without leaving indentations, a microfiber hair towel or a gentle cotton wrap to absorb excess moisture after washing, and a wide tooth comb or detangling brush for working through wet strands safely.
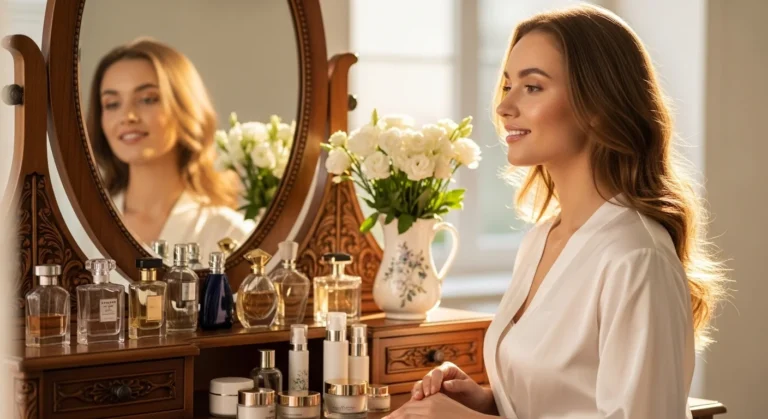
The Products That Make a Real Difference
Your product lineup should include a volumizing shampoo and conditioner matched to your hair type, a deep conditioning mask for pre-blowout moisture, a heat protectant spray applied before any heat touches your hair, a volumizing mousse or root spray for lift at the base, a lightweight finishing serum or oil for frizz control, and a flexible hold hairspray to seal the style at the end. Check out our post on: 21 Beauty Favorites That’ll Make You Rethink Your 2026 Routine.
20 Steps to the Perfect At-Home Blowout
Step 1: Start with the Right Shampoo
Your blowout begins in the shower. Use a volumizing or plumping shampoo that cleanses the scalp thoroughly without stripping natural oils. A clean, hydrated base holds a blowout far longer than hair washed with heavy or sulfate-laden products.
Step 2: Condition Strategically
Apply conditioner from mid-length to ends only. Conditioning your roots weighs them down and shortens the life of your blowout significantly. Focus moisture where your hair actually needs it, and rinse thoroughly with cool water to close the cuticle.
Step 3: Use a Pre-Blowout Hair Mask
Once a week, apply a deep conditioning mask after shampooing. Leave it on for ten minutes before rinsing. Healthy, nourished hair holds a style better and resists frizz more effectively than dry or brittle strands.
Step 4: Wrap with a Microfiber Towel
After stepping out of the shower, gently squeeze your hair with a microfiber towel rather than rubbing it with a regular bath towel. Friction from standard towels roughens the hair cuticle and causes frizz before you even begin styling.
Step 5: Apply Heat Protectant While Hair Is Damp
While your hair is still damp, mist a lightweight heat protectant from mid-lengths to ends. This step is non-negotiable. Heat damage is cumulative, and consistent use of a good protectant keeps your hair strong, smooth, and resilient over time.
Step 6: Add a Volumizing Mousse or Root Spray at the Roots
Work a volumizing mousse or root spray directly into your roots while the hair is still damp. This is where your blowout volume is built and this is where most people skip a crucial step. The product at the root lifts and supports the style from the base upward.
Step 7: Rough Dry Your Hair First
Before using any brush, rough dry your hair using your fingers and the blow dryer on a medium setting. Move the dryer constantly and scrunch or lift the hair at the roots with your fingers to encourage volume. Stop when your hair reaches about 75 to 80 percent dry. Trying to do a full blowout on soaking wet hair leads to frizz, uneven drying, and breakage.
Step 8: Set Your Part Deliberately
Before you begin sectioning, set your part exactly where you want it. Your part is the foundation of your entire look. An intentional, cleanly set part gives structure to the whole blowout and makes the finished style look polished and professional.
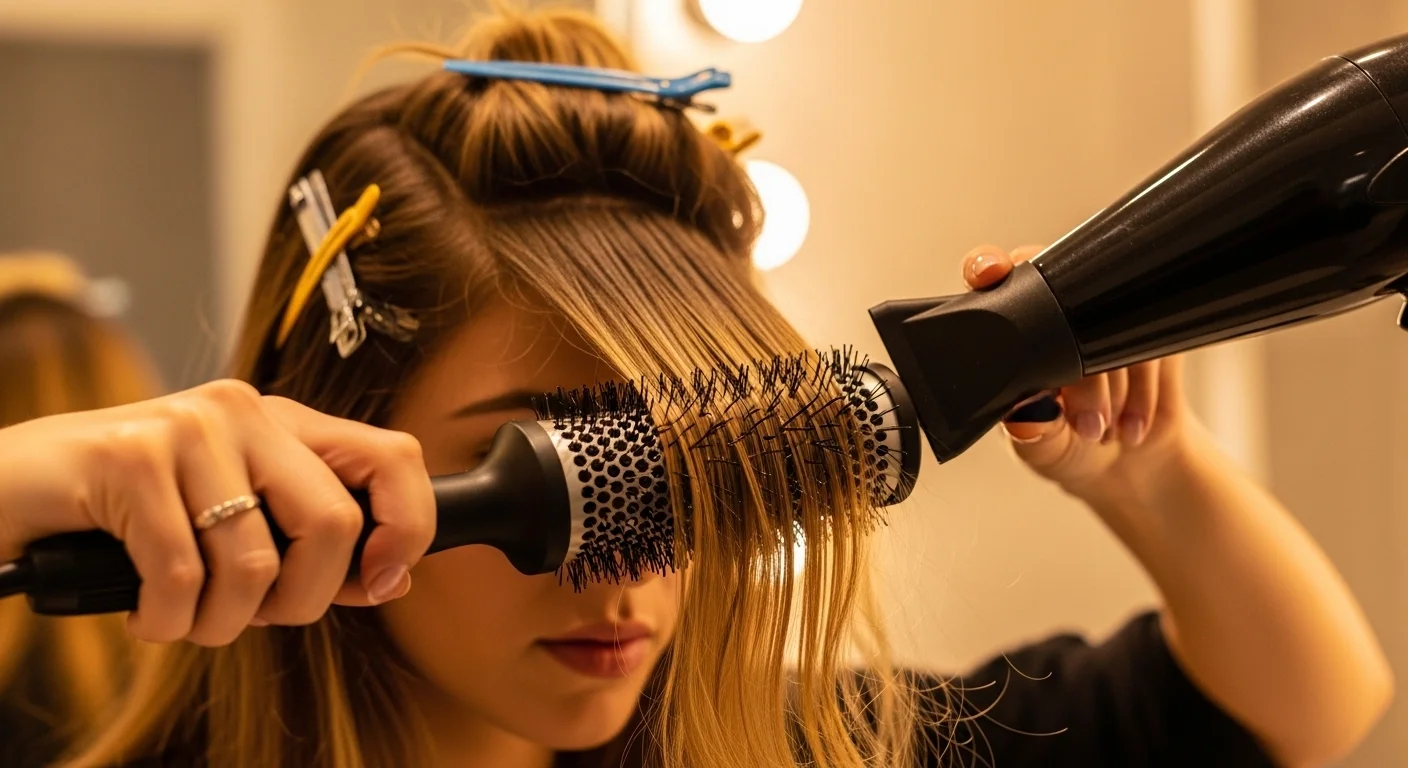
Step 9: Section Your Hair in Horizontal Layers
Divide your hair into at least three horizontal sections: bottom, middle, and top. Clip the upper sections out of the way and always start with the bottom layer first. Working section by section is the single most important technique that separates a salon blowout from one that looks rushed and uneven.
Step 10: Work in One-Inch Subsections Within Each Layer
Within each horizontal layer, take subsections no wider than one inch. The smaller your sections, the smoother, shinier, and more thorough your blowout will be. This is the thoroughness that makes a salon blowout last so much longer than a DIY attempt where large sections are rushed through.
Step 11: Use the Pull and Roll Technique with Your Round Brush
Place a subsection of hair underneath your round brush, close to the root. Roll the brush downward and away from your scalp while directing the airflow from the blow dryer downward along the hair shaft. This closes the cuticle, reduces frizz, and creates shine. Never blow dry upward against the cuticle or you will create frizz no matter how good your products are.
Step 12: Focus Extra Time and Attention on Your Roots
Professional stylists always spend the most time at the root. Dry and lift the root area thoroughly before moving down the hair shaft. The ends dry quickly on their own. If the root is not fully dried and lifted, the blowout will collapse by the next morning.
Step 13: Use the Cool Shot Button on Every Section
After drying each section with warm air, finish with a five-second blast of cool air from your blow dryer before moving to the next section. This step seals the cuticle, locks in the shape you just created, and significantly extends how long that section holds its style throughout the week.
Step 14: Roll Sections onto Velcro Rollers After Styling
Once you finish each section with your round brush and cool shot, roll that section onto a velcro or self-grip roller while the hair is still warm. Leave the rollers in for twenty to thirty minutes. This sets the shape of the blowout with far more staying power than brush styling alone, and the result is a bouncy, structured finish that genuinely resembles a professional blowout.
Step 15: Style the Front Sections Last and Differently
The hair at your face and hairline needs a different technique than the back sections. Brush the front pieces forward and underneath, then direct the blow dryer downward to create lift and movement. This prevents the front sections from lying flat against your face and gives you that swept, voluminous look around the frame.
Step 16: Avoid Over-Drying Any Single Section
Going over the same section repeatedly with high heat is one of the most common mistakes that causes breakage and frizz. Once a section is dry and styled, move on. Over-dried hair becomes brittle and loses its natural texture, making it harder to hold any style.
Step 17: Remove Rollers from the Bottom Up and Let Hair Cool
When removing your velcro rollers, always work from the bottom layer upward. After removing each roller, allow that section to cool fully before touching or shaping it. Touching warm hair immediately after removing a roller relaxes the shape and shortens the life of your blowout.
Step 18: Apply a Finishing Serum or Oil to Ends
Warm one small pump of a lightweight finishing oil or serum between your palms and smooth it over your ends and any flyaways. Avoid the root area. This step adds the glossy, polished shine that makes a blowout look professionally done. Use no more than one pump for fine hair to avoid any weight.
Step 19: Seal the Entire Style with a Flexible Hold Spray
Finish with a light to medium hold hairspray, holding the can at least twelve inches from your head. Avoid stiff or heavy formulas, which make the hair feel crunchy and shorten the time before your next wash. A flexible hold spray allows the hair to move naturally while keeping the structure of your blowout intact.
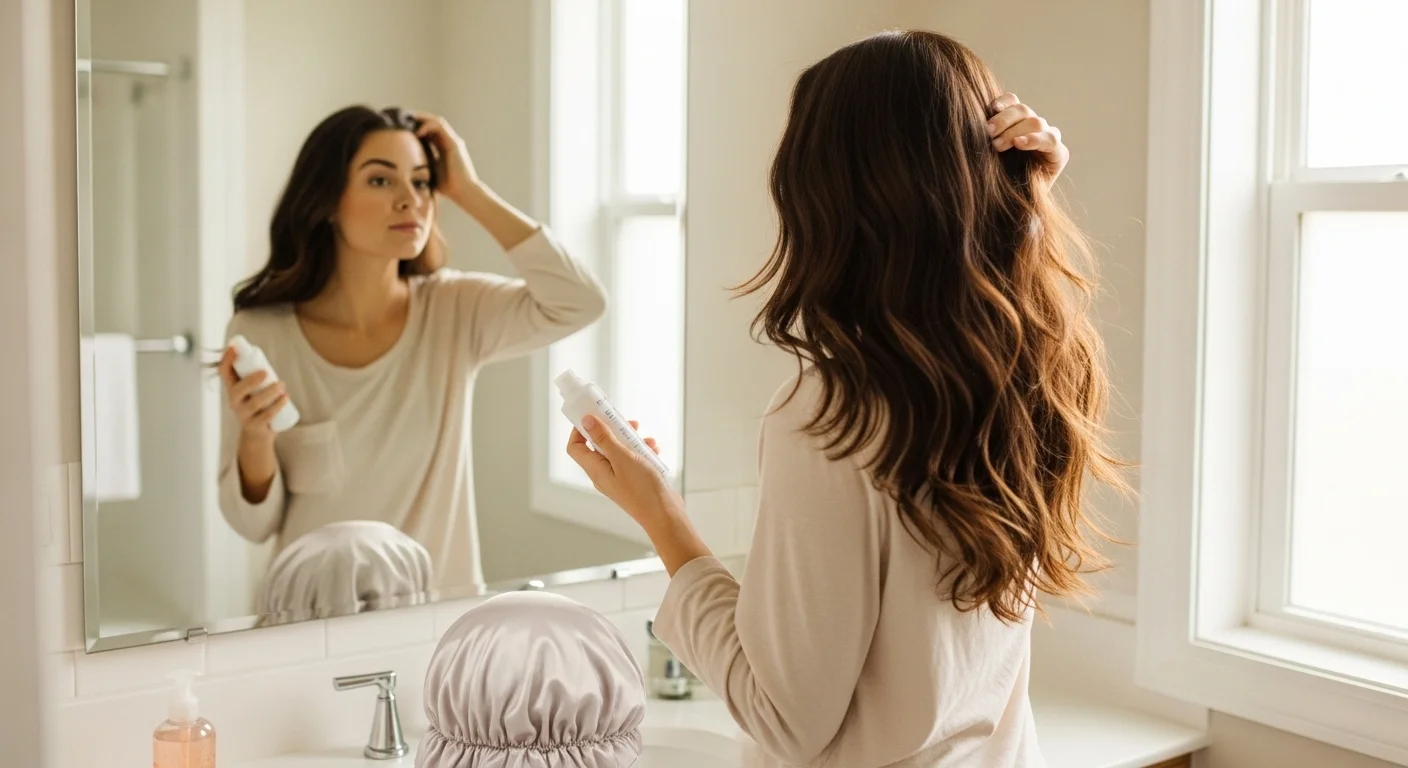
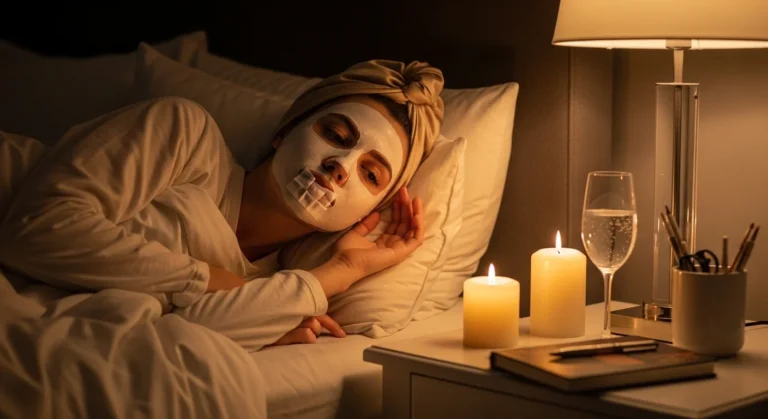
Step 20: Sleep in a Silk Bonnet to Preserve the Style
Each night after your blowout, loosely gather your hair and place it inside a silk hair bonnet before sleeping. Silk creates far less friction than cotton pillowcases and preserves the shape, smoothness, and volume of your blowout overnight. This one habit alone can add two to three extra days of life to your style. You can check out our complete Night Time Routine.
How to Make Your At-Home Blowout Last All Week
Use Dry Shampoo Proactively
Apply dry shampoo to your roots the morning after your blowout, before the oil builds up. Most people wait until their hair looks greasy, but by then the damage to the style is already done. Applying dry shampoo early absorbs oil before it forms and gives fine roots an additional boost of lift.
Refresh with Targeted Heat on Specific Sections
If certain sections begin to lose their shape by mid-week, use a round brush attachment or a curling iron on just those pieces for a quick refresh. You do not need to redo your entire blowout. A few targeted minutes on the sections that need attention is all it takes to restore the full look.
Common At-Home Blowout Mistakes to Avoid
Skipping the heat protectant is the most damaging mistake you can make. Not sectioning your hair leads to uneven results that fall flat quickly. Using too high a heat setting increases damage without improving the outcome. Drying the ends before the roots means your blowout has no structural foundation. Using heavy or greasy finishing products on fine hair weighs the style down within hours. Check out our post on: How to Be Attractive.
Final Thoughts on Mastering the At-Home Blowout
A perfect At-home blowout is not about talent or luck. It is about preparation, technique, and the right products working together. Once you build the muscle memory of sectioning properly, mastering the pull and roll technique, and sealing each section with cool air, the process becomes faster and more instinctive with every wash day. The investment you make in learning this routine pays off in time saved, money kept in your pocket, and hair that looks genuinely healthy and beautiful every single day of the week. Give yourself the time to practice, trust the process, and your at-home blowout will become one of the best skills in your personal care routine.
Frequently Asked Questions
How long does an at-home blowout typically take?
For medium length hair, expect to spend between 30 and 45 minutes once you are comfortable with the technique. Beginners may take up to an hour. The more consistently you practice, the faster and more efficient your process becomes.
Can I get a blowout with fine or thin hair?
Yes, and fine hair actually responds very well to blowouts when the right volumizing products are used at the root. The key is to avoid heavy conditioners near the scalp, use a root spray or mousse before drying, and focus extra drying time on lifting the root area.
How many days can an at-home blowout last?
With proper technique and care, most at-home blowouts last between four and seven days. Using dry shampoo proactively, sleeping in a silk bonnet, and avoiding excessive touching of the hair all extend the life of the style significantly.
What is the most important tool for an at-home blowout?
A good ionic blow dryer with a concentrator nozzle and a cold shot button is the most important investment. After that, the round brush is critical. The size of the brush barrel determines whether you get volume and curl or a sleek, straight finish.
Is it bad to do a blowout every week?
Doing a blowout once a week is generally manageable for most hair types as long as you consistently use a quality heat protectant, avoid maximum heat settings, and maintain moisture in your hair with regular deep conditioning treatments. Spacing out wash days and making your blowout last several days also reduces the frequency of heat exposure.


2 Comments